What is a S.M.A.R.T. error?
S.M.A.R.T. (Self-Monitoring, Analysis and Reporting Technology; often written as SMART) is a self-monitoring mechanism for drive lifespan. S.M.A.R.T. errors work in the following way:
- S.M.A.R.T. errors are reported by the drive.
- You can view all the reported S.M.A.R.T. errors via system logs.
- In case of any unrecoverable S.M.A.R.T. error, we suggest replacing the problematic drive as soon as possible. Refer to the following instructions to replace drives.
How to replace drives
Contact your reseller when a hardware component needs to be replaced.
You may need to identify the faulty hard drive via using drive tray LEDs or EonOne.
For CS 3016/3024/4016/4024
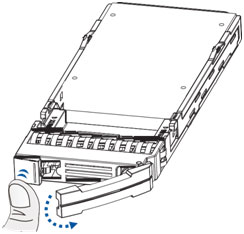
- When the faulty hard drive is located, push the release button to eject the drive tray, wait for around 30 seconds for the drive to spin down and then pull out the tray using the spring handle.
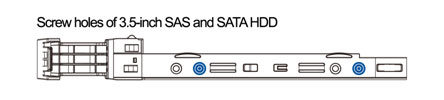
- Remove the retention screws from the drive tray to dislodge the hard drive.
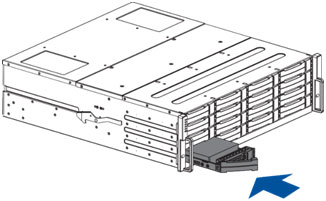
- Install the replacement hard drive to the drive tray and insert the assembled hard drive and drive tray to the bay with the spring handle open. Close the spring handle when the tray is fully inserted to the bay.
For CS 4025B
- When the faulty hard drive is located, push the release button to eject the drive tray, wait for around 30 seconds for the drive to spin down and then pull out the tray using the spring handle.
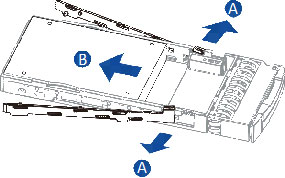
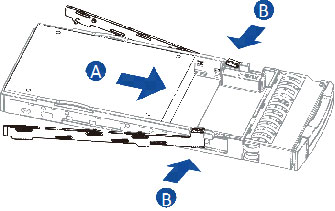
- Remove the side clips from the tray (A) and then remove the hard drive from the tray (B).
- Place the replacement hard drive on the tray and secure the clips to the side of the tray.
- Insert the assembled hard drive and drive tray to the bay with the spring handle open. Close the spring handle when the tray is fully inserted to the bay.
For CS 2060/3060/4060
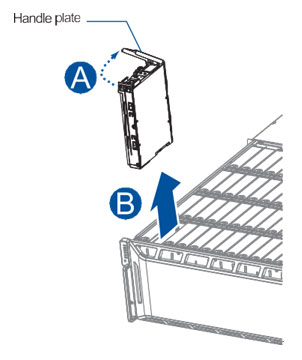
- When the faulty hard drive is located, open the top cover of the enclosure. Look for the defective hard drive, pull up the handle plate (A) and remove the drive and tray (B).
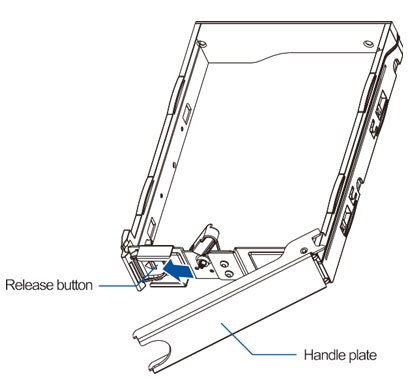
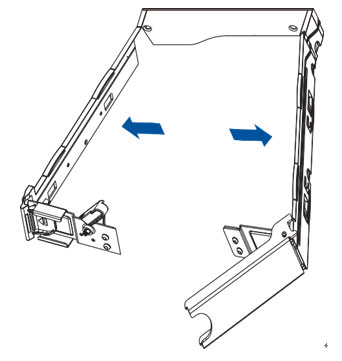
- Push the release button to the left, move the lever tray to the left to unlock the sides and pull both sides to widen the tray. Take out the defective hard drive from the tray. Insert the replaced hard drive, close the tray and push down the clip. Install the assembly back to the system.

Created Date: 12/02/2021